If you've assigned sprites to bones you'll
see that if you rotate, move or scale
bones, the assigned sprites will be
effected with them. If all sprites are
assigned to bones you may not have a
need to ever select or edit a sprite
directly. If this is the case, you can lock
and/or even hide all sprites so that you
can not accidentally select or edit a sprite
by clicking on the show or lock buttons
along the top right of the canvas. You can
do the same for bones if you have a need
at any point to only edit sprites.To start
animating, first edit your starting frame by
selecting and moving, rotating, stretching or
changing the alpha (translucency) of any of
the sprites or bones. Then click on another
point along the time line and then adjust the
sprite or bones as necessary to create the
next key frame. Editing any sprite or bone
while on a new point in the time line will
automatically create a key frame. You can
also create a key frame at any time by
clicking on the “key all” button near the
bottom right of the canvas, or by clicking on
the key selected button while one or more
objects (sprites or bones) are selected. (See
Key All vs Key Selected for more
information)

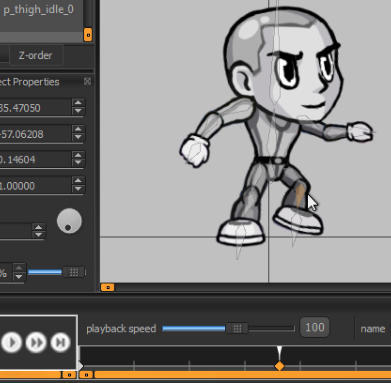
Animating Sprites and Bones
Spriter Pro User’s Manual version 1.4


