Once your animation is looking good and the timing is to your liking you might want to add sound effects
to further bring it to life. Spriter allows you to trigger the playback of as many WAV files as you’d like at
any point along the timeline.
Adding Sounds to Your Animation
Spriter Pro User’s Manual version 1.4


The first thing to do is gather or create your sound effects. (make sure they are WAV format) and put them
in your Spriter project folder. We suggest you create a subfolder for them so they are easy to find.
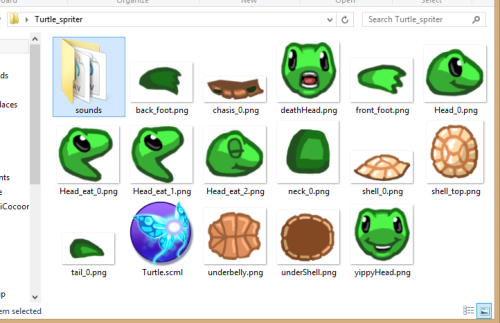
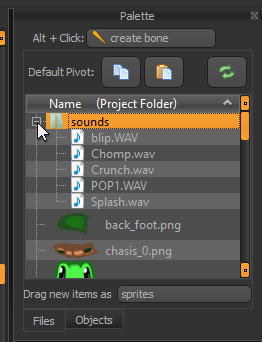
When you load up your scml or scon file in Spriter, you should see the foulder containing your sound
effects in the “files palette” on the right hand side of your screen. If you left click on the little + Icon to the
left of the folder it will open up so you can see all of your sound files. You can left click on any of the
sound files in the list to preview (hear) the sound.
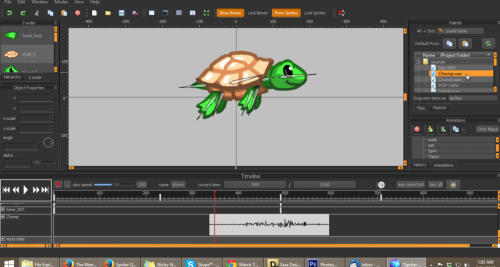
Once you’ve picked the sound effect you need, just scroll through to anywhere you’d like in the animations
timeline to puck the spot at which the sound effect should appear and right click on the sound files name in
the files palette. This will place the sound effect in the timeline at that spot. Be sure to expand your
timeline view by dragging the top of the timeling bar upward, and scroll down near the bottom to see your
added sound represented as the graphic of the sound file.
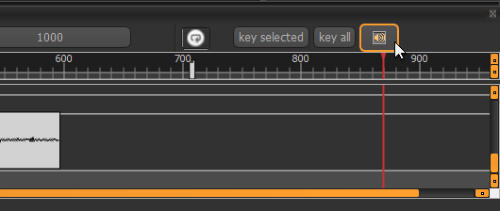
Notice the small speaker icon near the top right of the timeline palette. Left clicking this icon will toggle
between 3 diferent sound playback/preview options. The two obvious ones are mute and standard
playback, the third option lets yets you hear the sound in real-time as you scrub through the time-line. This
option is ideal for perfectly synchronizing visual aspects of the animation with key parts of the sound
effect.
